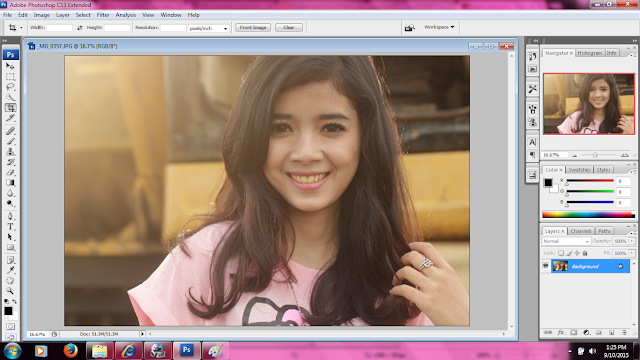
Photoshop tutorial how to create a retro effect easily.
for the maker of this effect is actually easy, just play panels located on the adjustment only, but there are also some people who want instant mebuat retro effect using the instant application, such as the B612, the features of the instagram, photoshop mobile applications, and others.
I think if we got used to process images using the instant application as it is, there is no satisfaction art itself. and no pride. hehe
direct yes.
The first step
open the photo you wish to edit, file- open your photo - ok
not to forget the duplicate layer was yes. (my advice)
The second step
layer already in duplicate, give highlight effect by pressing CTRL + M, set so similar to the letter S.
Third step
create a new layer and fill it with white, then click gradian existing folder in the left pane you, then cross horizontally and vertically, and select custom colors that you want, and then lower the opacity as needed, and the layers panel made linear dogde.
The fourth step.
give effect beams, or the sun, by creating a new layer again, and 2 click brush size to 300 with white color in the upper left corner of your photo (adjust the sunlight is there) after that, go to blending options - outer glow and set customize to your taste.
The last step
give a little touch of levels, RGB + blue as below.
Finish !
Strictly forbidden to copy-paste this content, Copyright tutorialtonephotography.blogspot.com
Keywords: digital manipulation tutorials, digital imanging tutorial for beginer, tutorial photoshop beginners, intermediate photoshop tutorial, how to generate creative ideas, how to generate high imagination, how to create a high-value works of art


0 comments:
Post a Comment